
|
Buck Rogers - an oldie but goodie
3 Attachment(s)
I finally decided to build my Buck Rogers Starfighter.
I did have a little bit of go fever and forgot to get a picture of parts. Lots of "die cruched" cardboard pieces - no balsa to fill! The first step is to punch out the 3 parts to make the canopy. I used white glue and the double glue method plus some small clamps to hold the tabs while the glue dried. Did it one tab at a time. I used Elmer's F&F for the body tubes (no pix). Once that dried and sanded, I punched out the wings, marked the tubes, and attached the wings to the body tubes. The engine mount consists of a bulkhead and motor ring glued into the end of the motor tube. This is then glued to the main body. |
1 Attachment(s)
Next glue all 3 pieces together. The scissors on top acted as a counterweight for the clamps that I had hanging over the table edge.
|
1 Attachment(s)
I ran into a problem. The one tube did not bond well plus there was a gap between the cardboard pieces. I was able to cut apart the pieces. I then trimmed the main body stock to properly fit the tube (a little less than 1/8"). Forgot to grab a picture of the problem.
While the tubes were drying (again) I built the motor mount. It consists of the motor tube, motor block, motor hook, and center ring. I did substitute some kevlar thread for the shock cord where it connects to the motor mount tube |
1 Attachment(s)
I started working the under plate. It consists of 3 pieces that need to be glued together at right angles so I used some blocks for alignment
|
3 Attachment(s)
OK - I'm happy with how the main body came out. And the bottom plate is done. There is a rib you glue on with holes for attaching the shock cord. Forgot to grab a picture of that, but I've glued the bottom plate to the main body. I used some weights and clamps to hold things together while the glue dries.
|
Great work, Les. Love the thought you clearly put into your approach. Very creative.
|
Just throwin it out there to make you hurry up and finish it. Built mine around 1979, before I learned how to make them pretty.
 |
1 Attachment(s)
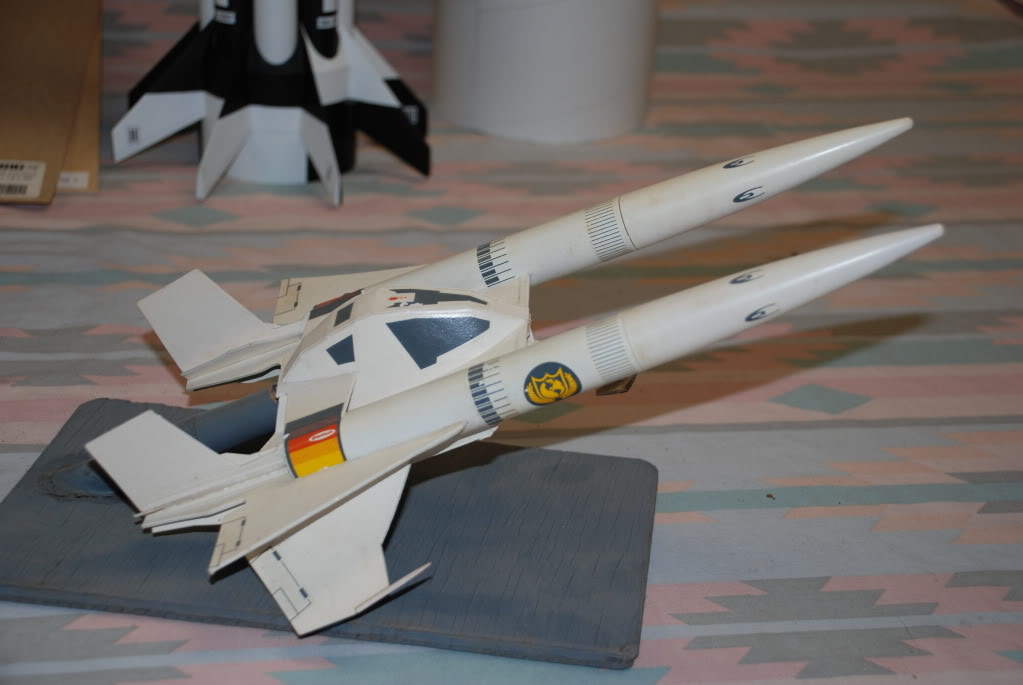
Looks nice - hope mine comes out as well. Nice display.
This is a very interesting kit.... The launch lug and some trim plates glue onto the bottom. One set of wings get some toothpicks installed, then the wings start getting installed. Again used the double glue method. I found at this point it wanted to tip over, so the glue bottle is helping it stay upright. |
1 Attachment(s)
While the wings were drying I built the nose gear. This installs into the launch lug and is for display only and has to be removed for flight.
|
1 Attachment(s)
Another pair of rudders on
|
| All times are GMT -5. The time now is 05:54 AM. |
Powered by: vBulletin Version 3.0.7
Copyright ©2000 - 2024, Jelsoft Enterprises Ltd.